OIP LUXE FOR LESS CHRISTMAS
To me Christmas is a time of giving and every year l love to make gifts that are both personal and delicious. You could say that it is sort of a family tradition, where everyone awaits to see what l have whipped up in my little kitchen with the joy and love l sprinkle on each and every package! I love watching as fingers delicately unravel the bows and unwrap the packaging to reveal a little treat that has been made just for them. There is nothing better than seeing the excitement in their eyes and the joy and happiness that a lovely edible gift can bring to those near and dear to us.
 I wanted to share with you some easy edible gifts that not only look beautiful, taste delicious but are also budget friendly! These gifts are perfect for teachers, neighbours, work colleagues and of course family and friends. Hopefully these easy recipes will inspire you to get in the kitchen and give a gift that has been made by you for those that you love!
XOXO Larissa
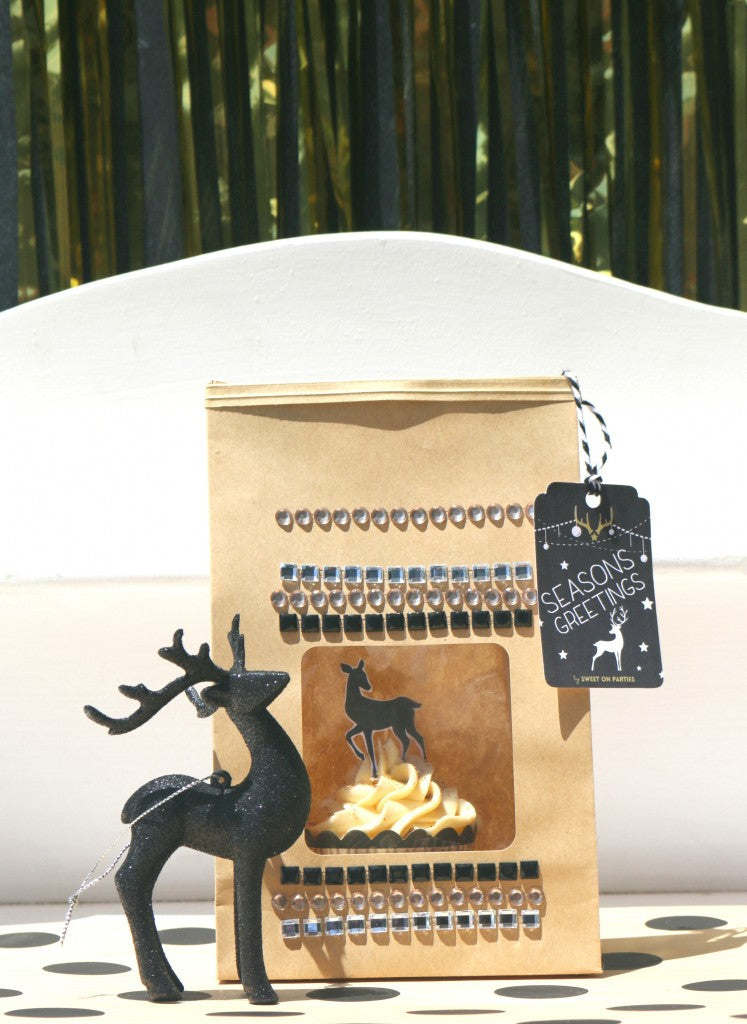
P.S. Don’t forget it is all in the details so package your gifts with a bit of personal flair! I love the gorgeous gift tags, wrapping paper and cupcake toppers that the lovely Astrid from Paper Playground designed for me! They are Oh So Perfect!! (Scroll down to download)

 Spiced Vanilla Bean Cookies
Ingredients
190g butter (l like to use salted but if using unsalted add a pinch of salt)
1 cup caster sugar
1 tablespoon of vanilla bean paste or scrape seeds of 2 vanilla beans
½ teaspoon ground ginger
½ teaspoon ground cinnamon
½ teaspoon of mixed spice
2 cups of plain flour
½ cup of rice flour
1 egg
Method
- Place butter and sugar and vanilla bean paste in food processor and mix until combined and then add egg and mix until creamy.
- Add the flours and pulse until a soft dough forms.
- Turn onto a floured bench and knead together.
- Take half of the mixture and roll each half into a log and wrap both in cling wrap and place in fridge for 30 mins. (I like to put one of my logs in the freezer to save for later or if making a large batch of cookies then put both in fridge to then roll and use. Each log should make around 20 medium size cookies but depends on your cookie cutter.)
- Preheat oven to 180 degrees Celsius.
- Remove dough from fridge and proceed to roll between two sheets of baking paper until dough is 4mm thick
- Take desired cookie cutter and cut shapes placing evenly on lined baking trays
- Bake for 10-12 mins or until golden.
- Remove trays from oven and let sit for 5 mins and then place onto cooling racks until completely cool for decorating.
 Tips
Tips
- Using fondant is the easiest and quickest way to decorate cookies
- I like to use Satin Ice Buttercream Flavour Fondant which is delicious tasting and is white so perfect for colouring
- Use the same cookie cutter to cut your fondant and then adhere to cookies by lightly brushing cookie with water
- Add dimension and interest to your cookies by using stamps, impression mats, cachous, edible glitter or hand painting with food colouring.
 Egg Nog Cupcakes
Ingredients
Egg nog
¼ cup sugar
¼ cup custard powder
30ml brandy
½ cup cream
125g butter
¾ cups caster sugar
2 eggs
2 tsp vanilla paste
½ whole nutmeg grated and extra for topping
1 tsp cinnamon
1 ½ cups SR flour
Icing
200g butter
350g icing sugar
1/3 of remaining egg nog mixture
Method
- Add ingredients for eggnog mixture into a small bowl and whisk until fully combined.
- Using an electric mixer with paddle attachment beat the butter and sugar until pale and creamy.
- Add eggs one at a time and beat until well combined.
- Sift together the flours and spices and add to the wet ingredients.
- Add 2/3 of Egg Nog mixture to the dry ingredients and mix on medium until well combined and resembles a thick batter.
- Spoon into cupcake cases and bake in a preheated 180 degree oven for 18 mins or until they spring to the touch.
- Remove from oven and place on cooling racks.
- Beat the butter reserved for icing until pale and creamy
- Add sifted icing sugar along with remaining egg nogg mixture and whip until well combined
- Using a Wilton 2D tip pipe swirls of icing onto cooled cupcakes and top with grated nutmeg.
 TIPS
TIPS
- It is always a good idea to match your cupcake liners with the type of cake you are making so light coloured cases for lighter cakes and darker cases for darker cakes such as chocolate cake.
- When presenting your cupcakes it is a good idea to double line them if the batter has left oil marks.
 Chocolate Cranberry Slice
Ingredients
250g Marie biscuits
1 cup of dried cranberries
1 ½ cups desiccated coconut
1 cup shredded coconut
395g can condensed milk
125g butter
1 ½ cups dark chocolate
Method
- Line base of a 18cm x 28cm lamington tin with baking paper
- Place biscuits in a food processor and pulse until they resemble crumbs
- Place crumbs into a large mixing bowl along with coconut and cranberries
- Pour condensed milk into a small saucepan along with the butter
- Continually stir the condensed milk and butter over a medium heat until butter has melted
- Add wet ingredients to dry ingredients and mix well until thoroughly combined
- Press mixture into lined tin and set aside
- Melt chocolate at 30 second intervals in microwave until melted
- Spread chocolate mixture over biscuit base with a palette knife and put into fridge to set
- Cut into squares and individually wrap with pieces of wax paper and string
 Tips
Tips
- Use a warm knife to cut slice into squares
- Alternatively roll mixture into balls and then cover with melted chocolate using a spoon and fork to coat and place onto a lined baking tray to set. Decorate with pretty sprinkles.
 Hot Chocolate Drink sticks
Makes approximately 8
Ingredients
Paddlepop sticks
Mini cupcake tins
200g chocolate melts (dark, milk or white the choice is yours)
Method
- Melt chocolate in microwave at 30 second intervals until melted
- Spoon into mini muffin tins and tap to remove air bubbles
- Place paddlepop stick in centre of each mini muffin cavity
- Place in fridge to set
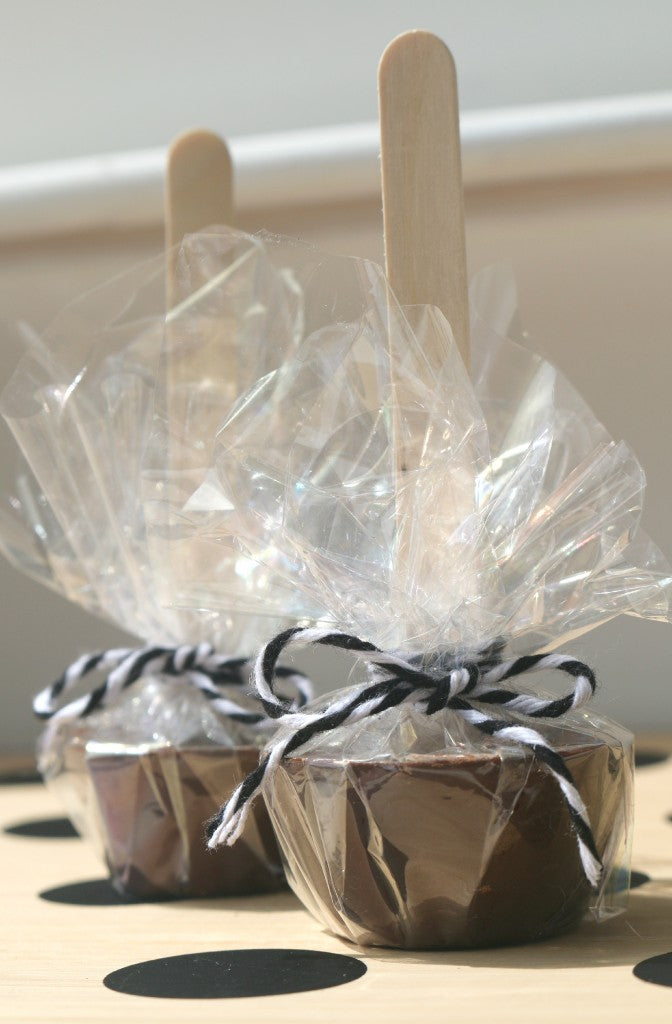
- Once set gently pull out the paddlepop stick and wrap with cellophane and string or ribbon
 Tips
Tips
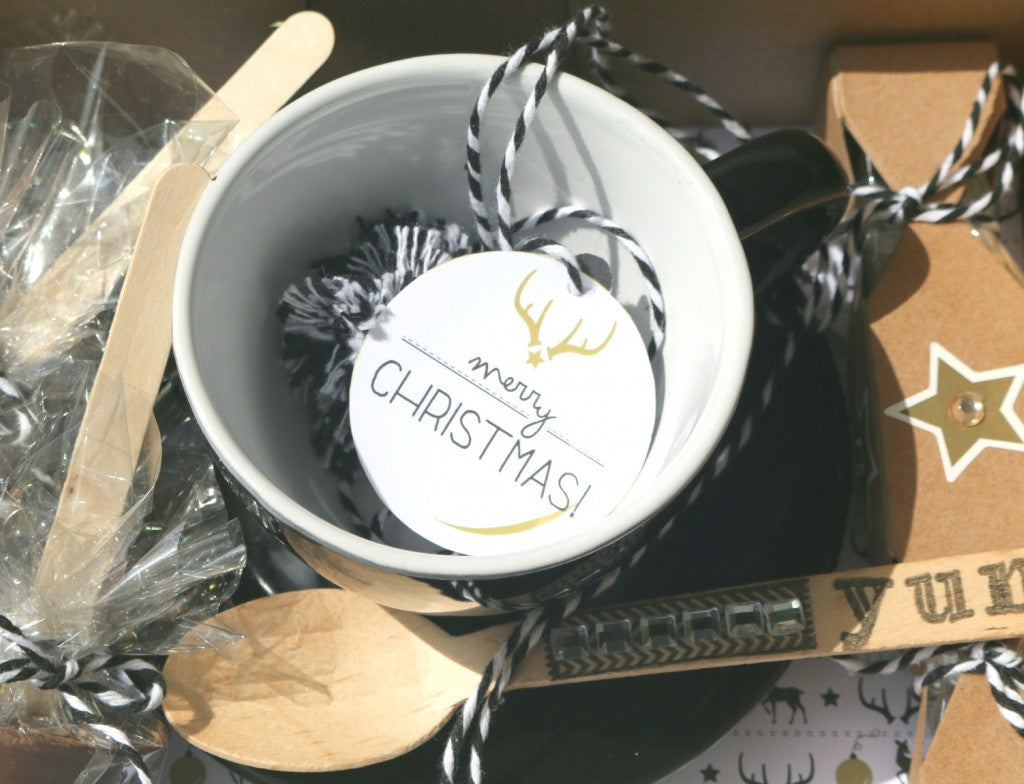
- Package your Hot Chocolate sticks with some marshmallows and a cup and saucer for a sweet hot chocolate box gift set


 Downlaod the beautiful paperie here for free, designed by the very talented Paperplayground.
1. Christmas Tags & Toppers
2. Christmas Wrapping Paper
Written By Our Creative Director (Melbourne) Larissa of Sweet On Parties
